Self-hosted Installation
Install API
Dokku is an open source version of Heroku that can be installed on your own server.
Fortunately, DigitalOcean has an image based on Dokku, ready to be used after a few clicks.
In the next steps, we will setup the server with Dokku, install the backend services, add file persistence, and even configure SSL without extra cost.
Create an account in DigitalOcean
Go to DigitalOcean and create a new account, or login using an existing account.
Sign up using our referral link to get $100 USD credit.
Create Droplet
Within your DigitalOcean account, click on Create and select Droplets. Then, select the Dokku image as shown in the following video:
After a couple of minutes, we should have our server running with Dokku.
In the video above, you will notice that the SSH key was already configured. In the opposite case, you will have to add your own SSH key, which will be necessary to access to the server without a password.
We recommend to start with the $10/mo plan (2GB) and with the data center most closest to the location of your users. If the server load increases in the future you can increase the CPU, RAM and hard disk at any time through the DigitalOcean panel. It would also be a good idea to activate backups.
Setup Dokku
Look for the newly created droplet and copy the server IP.
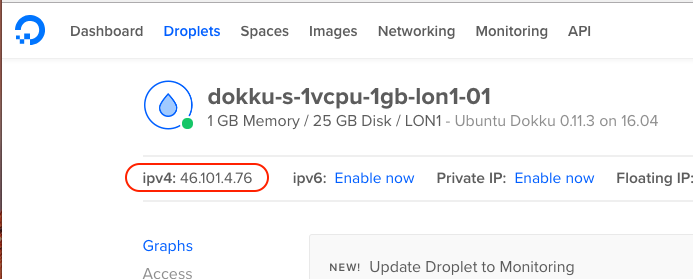
Open the IP in your web browser.
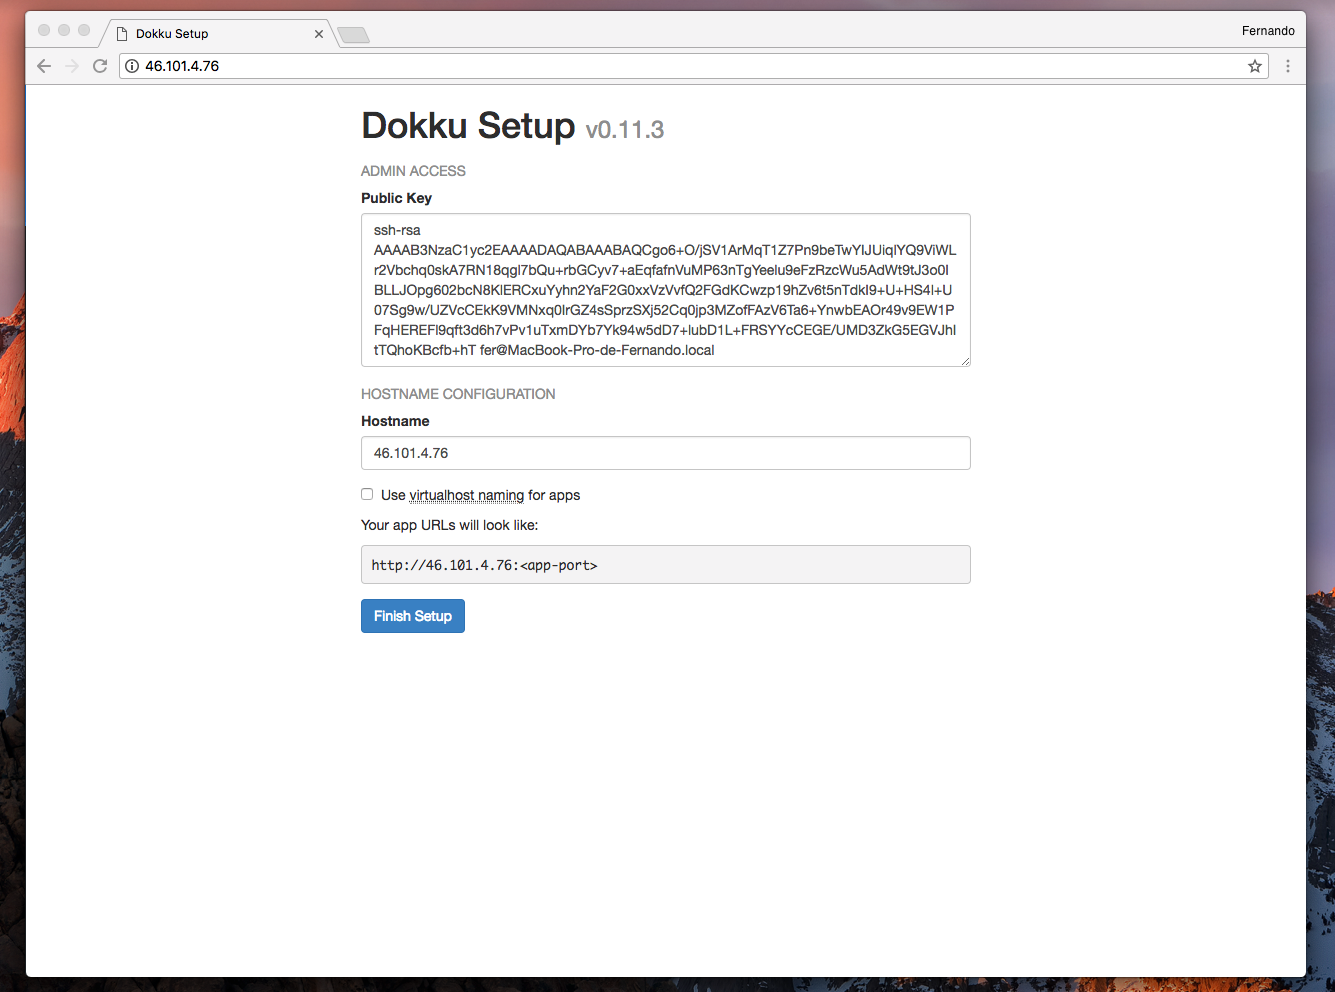
You’ll see the SSH key that we configured when creating the droplet. In the Hostname field, enter the main domain of the app and activate the option Use virtualhost naming for apps. It should look something like this:
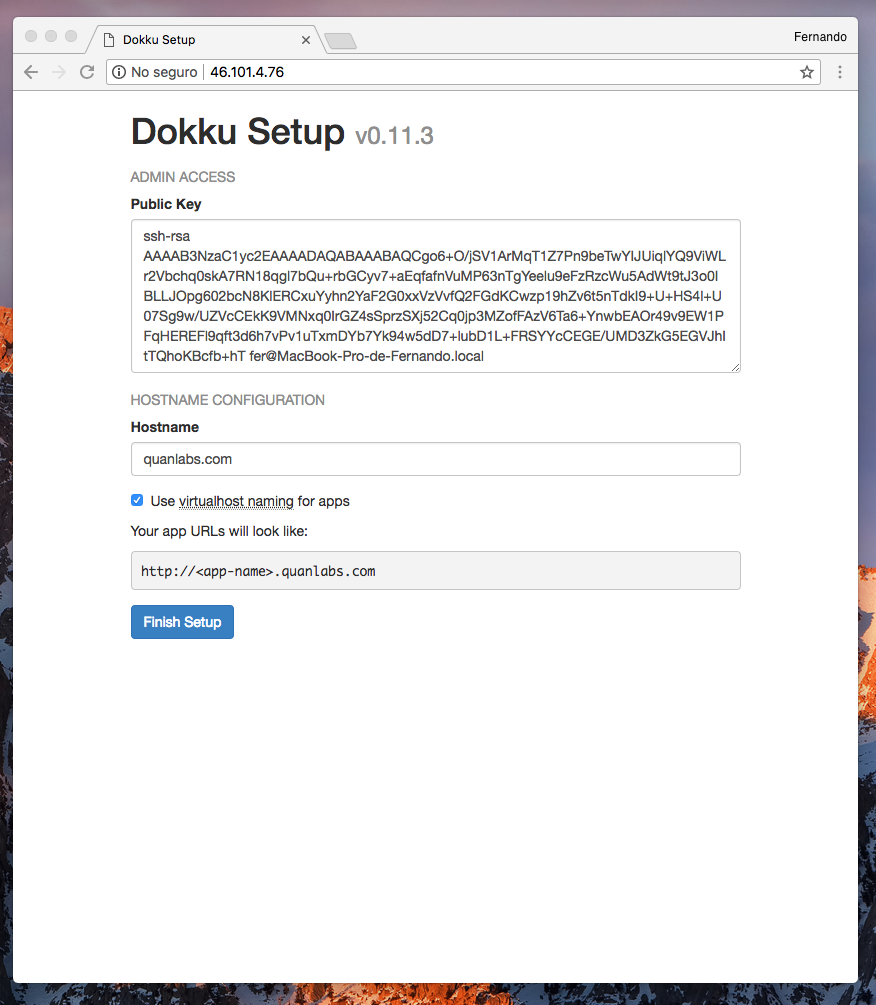
Press Finish Setup. Now, you can close this tab and continue with the next step.
Setup DNS
Finally, add one A record in the DNS configuration of your domain to point to the IP of the Droplet.
This step varies depending on your domain provider. In this example, we will do the setup on cPanel.
Let’s start by access through SSH to the server. In your command terminal, type ssh root@server_ip and press enter. Remember to replace server_ip with the actually server IP.
Download and run IonShop script
# Download script
wget https://quanlabs.s3.us-east-2.amazonaws.com/ionshop.sh

# Run script
bash ionshop.sh
The script automates the creation and configuration of the app, database, storage, SSL certificate, and email.
You’ll be asked to enter your app name and your keys for services like Mailgun, Firebase, One Signal, etc.
- App name - Type it with no spaces and press enter.
- Domain - Type a custom domain if you don’t want to use the default value.
- Email - Required for Let’s encrypt (SSL)
- Enable redis - A redis instance is used as a background service to expire abandoned carts (optional).
App name: ionshop
App description: My Cool Shop
Domain: admin.mycooldomain.com
Email: dev@quanlabs.com
Enable redis (y/n)? y
...
If for some reason you don’t plan to use some of the services listed, when asked just enter a string like “notused” or any random string to continue.
You can update the app configuration at any time with the command dokku config:set.
For example, setting the Firebase Sender ID is as easy as:
dokku config:set app_name PUSH_ANDROID_SENDER_ID="1234567890"
Replace app_name with the app name entered during the script execution.
Once the script has finished, you should see the installation report and your App Keys. We recommend copying all the output to a safe file, especially the App ID and Master Keys. These keys are for connecting the app with the API.
Setup Git repository
The following commands should be executed in your local environment.
Initialize a new repository.
ionshop-x.x.x/api:~$ git init
Add all the files to the repository.
ionshop-x.x.x/api:~$ git add .
Commit changes made to the repository.
ionshop-x.x.x/api:~$ git commit -m "Initial commit"
Add a remote called Dokku where the code will be pushed.
ionshop-x.x.x/api:~$ git remote add dokku dokku@server_ip:app_name
_Note: server_ip should be equal to your server IP, and appname should match with the value entered in the ionshop script.
We are ready to push the changes to the server.
ionshop-x.x.x/api:~$ git push dokku master
Wait a few minutes and you should see a success message that the application has been successfully deployed.
If everything went well, open the app URL in your web browser, and the login page should appear.
Navigate to your app domain (ex.: https://cloud.yourdomain.com), and fill out the form to create the Super Admin.
The Parse Dashboard should load. Enter your PARSE_DASHBOARD_USER and the encrypted password.
Every time we make a change in the source code, we have to push the code to reflect the changes in the server as follows: add the files to the repository, confirm the changes and finally push them with the command git push dokku master
Install Admin Portal
See here to learn how to install the admin portal in App Platform by DigitalOcean. Other good options to install it are Vercel, Netlify, or Firebase Hosting. Feel free to choose the provider more suitable for you.